DIY Bunting
When it comes to making our displays just right, we go all out. I can speak for many a Declaration Doll when I say that doing displays are one of our favorite parts of the job. As you’ll learn, we will go to many lengths to get our store as cute for y’all as possible.

While each of us have similar but varied styles and techniques- one thing always holds true. There’s nothing a little bunting can’t fix!


Now if you happen to stumble across a conversation or two about bunting at your local Declaration, and assume we’re talking about our favorite size cake pans, I’m here to help. And for all of our sweet customers that ask where we get our banners or how we make them, this one is for you.

Whether you call it bunting, pennants, banners, this, or that, here’s the truth. It is something SO simple to do yourself and makes for a fun family project as well!
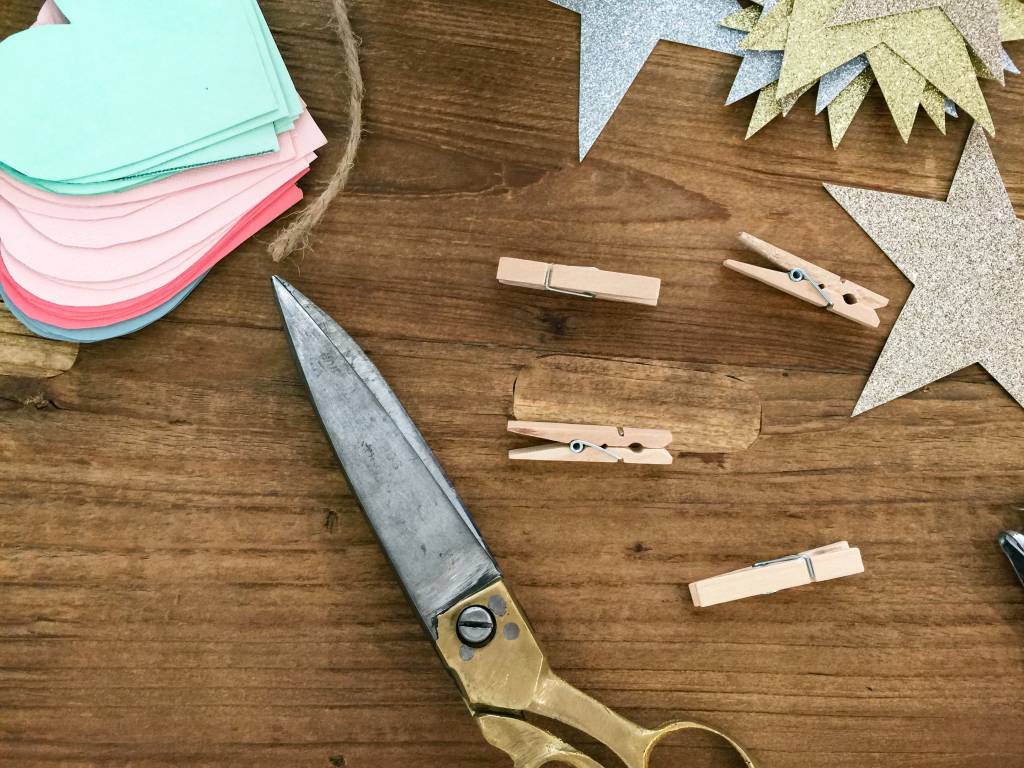
Here’s what you’ll need...

Supplies:
- Triangle (or whatever shape you’d like to use as a pennant!) cut out
- We use any scrap paper for this
- Colored cardstock
- Have fun with colors to suit your theme! We recommend a maximum of 4 complimentary colors to rotate between for a curated look.
- You can use construction paper or any sturdy paper your heart desires.
- Scissors
- Kid friendly if necessary!
- Hole punch OR Wooden Clothespins
- You can find this in the scrapbook section of your local craft store. (Something not too small but wide enough to get the twine through)
- Got a 3 hole punch? Use one punch at a time for bigger pennants/ twine
- Depending on the size of your bunting, you can use anywhere from mini to small clothes pins (too big and they’ll distract from the pennants)
- Twine
- Another easy find at your local craft store. (We always keep a roll *or three* of twine handy for bunting, last minute signs, and gift wrapping!)
- Tape OR Hooks
- Depending on how long you leave up your bunting, you can install small hooks to tie your twine to. Tape works just as well and is less permanent.
Now that you’ve got all the right stuff, let’s get to it!
How to:
1. Choose your color combo & cut out a good amount of your desired shape in each color
I like to stack them in the order that I want to add them to my twine, making for an easy assembly process!
2. Measure out the length of twine you’d like for your specific bunting. We do this by simply hanging the twine onto the desired spot. Make sure to pull down on your twine for a banner effect.
If you’re using clothes pins, leave twine up & add pennants directly to it

3. Hole punch/ Pin the top two corners of your shapes. For each shape and method, here’s what we recommend.
Declaration way- 2 holes/pins for triangles, 1 hole/pin for stars & hearts

4. Feed twine through first hole, then next. You can make it so your twine shows at the front of your bunting or is neatly tucked behind! (Keep this in mind if using paper with one sided color/design) Continue with desired color rotation and spacing between pennants until full.
For clothespin method- Pin directly on to hung twine with desired color rotation & spacing
5. Tape or tie (if using hooks) onto desired spot and voila!

We love to use our bunting ALL over our stores. From window displays, to fancying up big pieces of furniture (with less than fancy backsides), displays, walls with too much blank space, open suitcases, to our Christmas tree! They can be used at home as party decor, in between windows, mantel decor, to spice up your bookshelf, or photo spot props!
If you try any of our Declaration DIY’s at home, don’t forget to share with us on social media by tagging us and using the hashtag #declarationDIY so not only can we marvel in your amazing DIY skills, but for a chance to be featured on our page & social media!
Happy bunting!
XO,
Jess


